Bootcamps
 Mock Exams
 Hands-on Labs

For Salesforce developers, efficiency and a seamless workflow are paramount. Visual Studio Code (VS Code), a powerful and customizable code editor from Microsoft, emerges as a perfect companion for building and deploying Salesforce applications. This detailed guide walks you through the steps required to set up VS Code for a productive Salesforce development experience.
Prerequisites
Make sure you have these before you dive in:
- A Salesforce Developer Edition Org or Sandbox: You’ll need a Salesforce environment to connect VS Code for development and testing. Sign up for a free Salesforce Developer Edition Org here
- Download and Install Visual Studio Code: Head over to the official VS Code download page and select the appropriate installer for your operating system.
Setting Up VS Code for Salesforce Development
> Salesforce Configuration Files: Provides syntax highlighting for various Salesforce configuration files
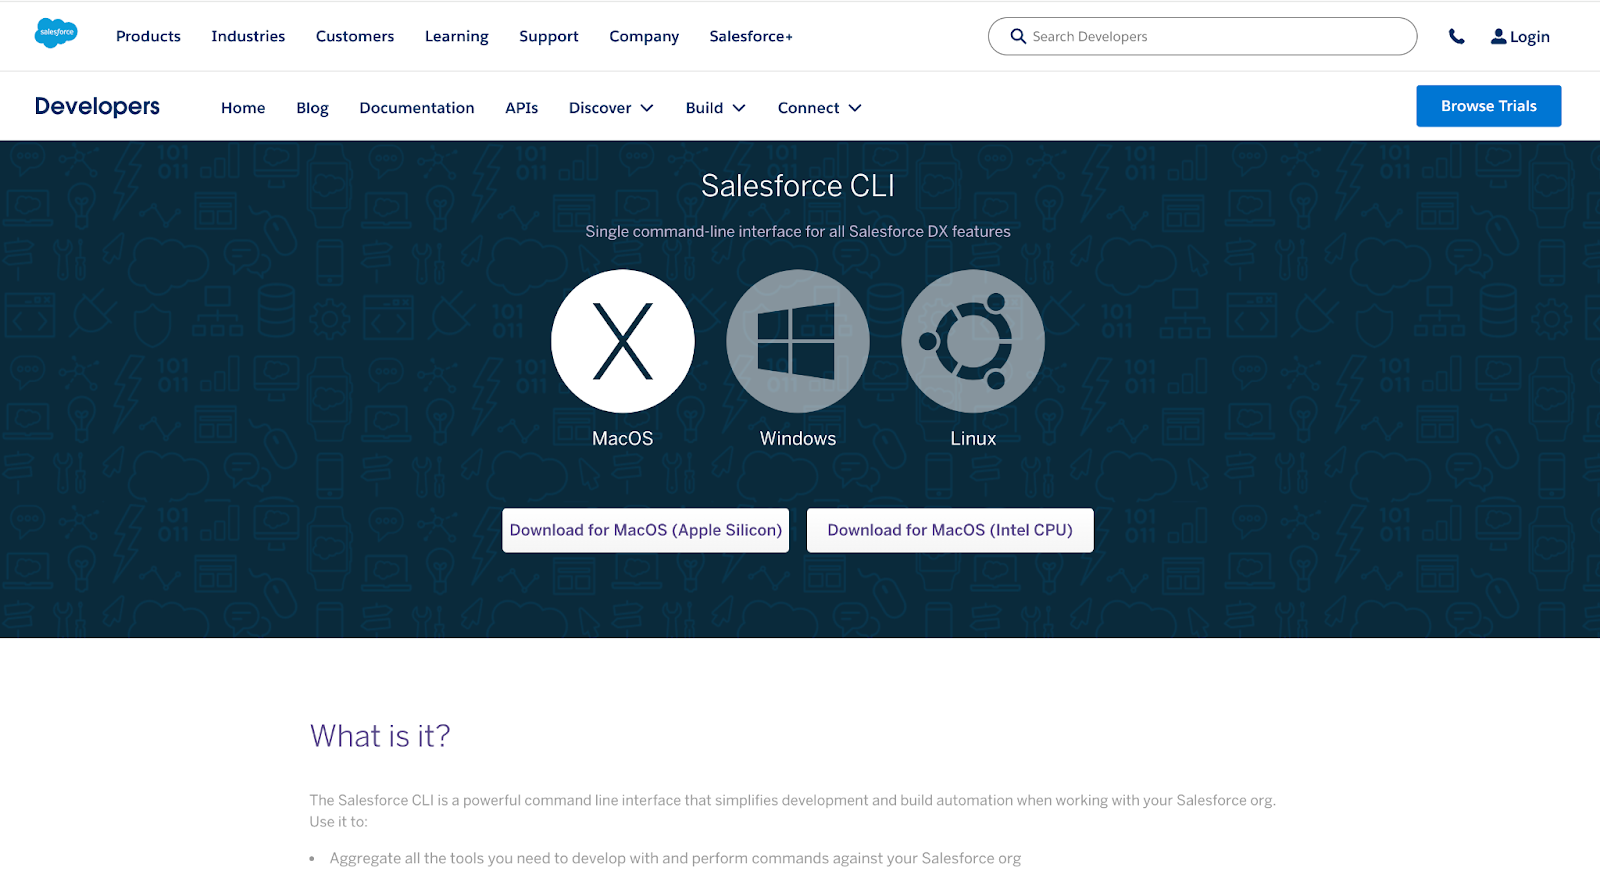
1. Install the Salesforce CLI (Command Line Interface)
- Download the Salesforce CLI installer from the official Salesforce DX documentation (Choose the appropriate installer for your operating system)
- Complete the installation by following the on-screen instructions
- The Salesforce CLI provides command-line tools for managing Salesforce DX projects, creating and deploying components, and running various development tasks
- Confirming CLI Installation and Updating
After installing Salesforce CLI, ensure it’s correctly installed and up-to-date:
- Confirmation: Run `sfdx –version` to check installed version.
- Update: Execute `sfdx update` to get the latest version.
- Verification: Re-run `sfdx –version` to confirm the update.
Following these steps ensures your Salesforce CLI is ready for use with the latest features and improvements.
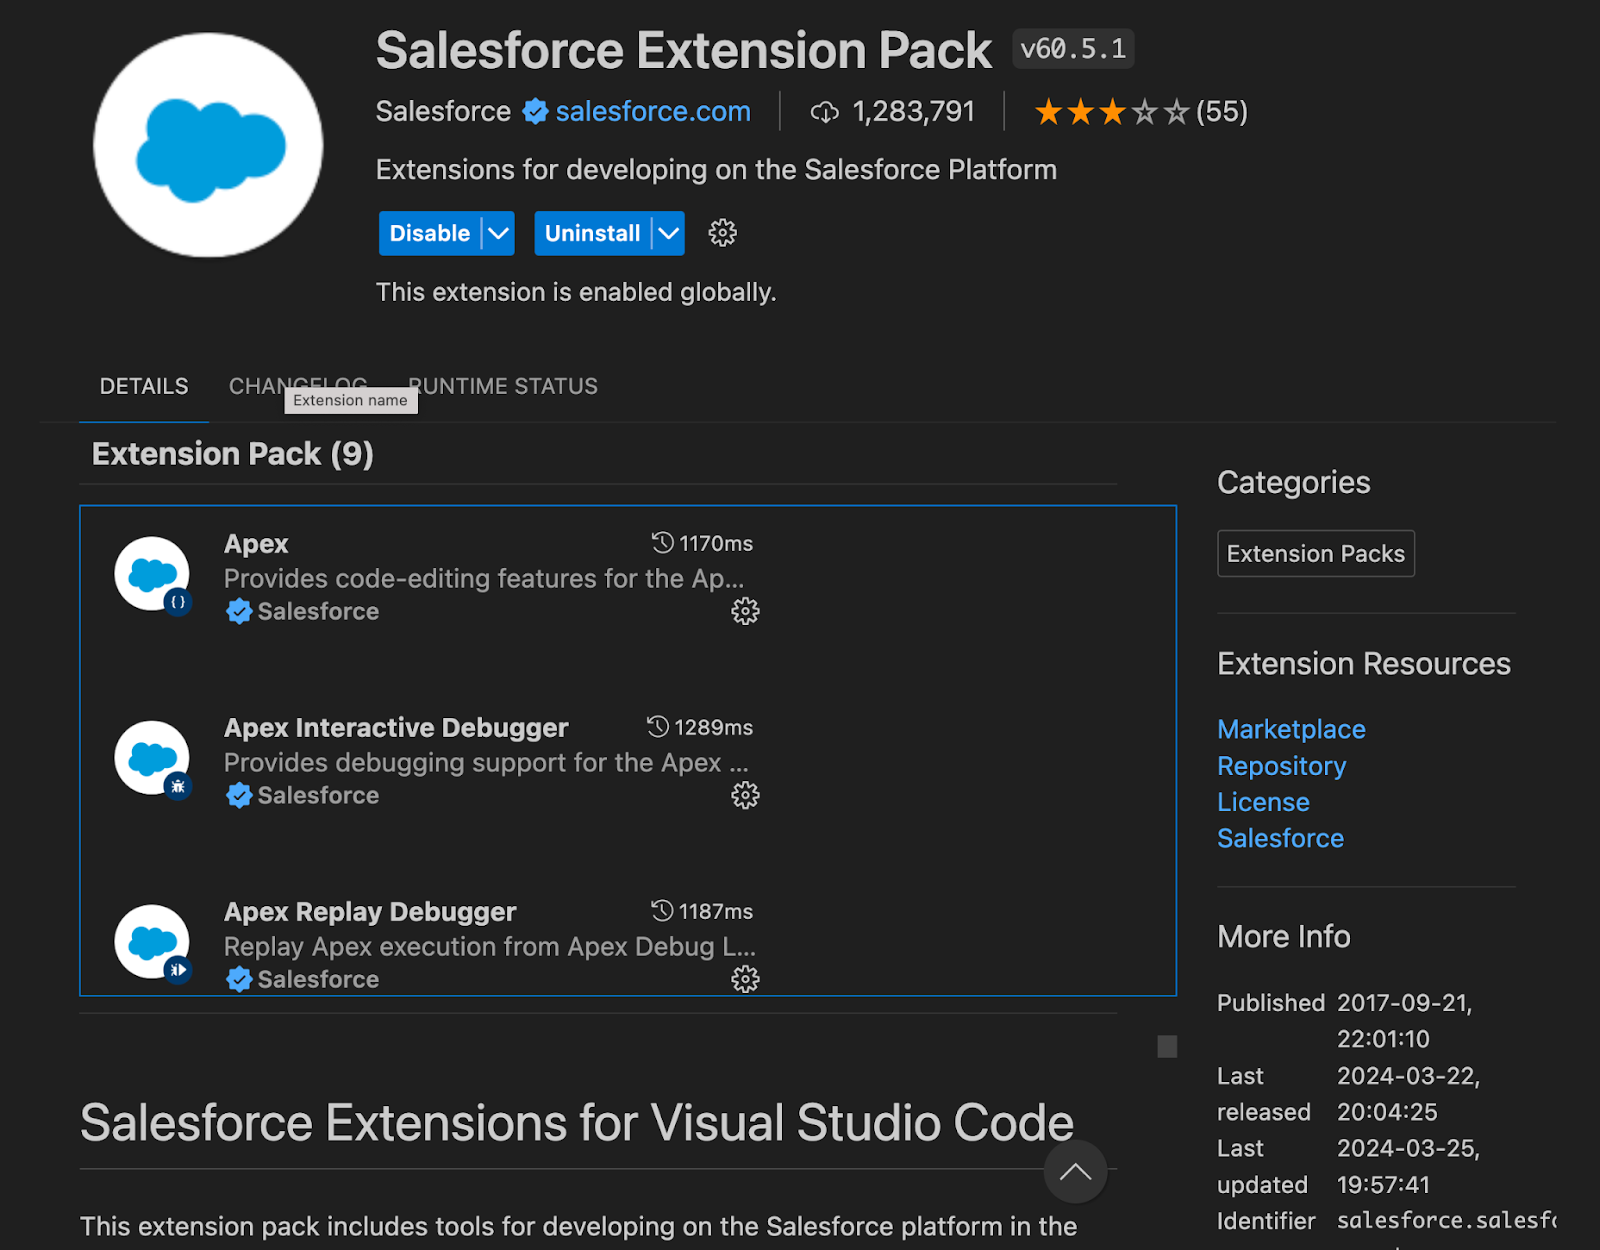
2. Install the Salesforce Extension Pack
- Open VS Code and navigate to the Extensions tab (Ctrl+Shift+X on Windows/Linux, Cmd+Shift+X on macOS)
- Search for “Salesforce Extension Pack” by Salesforce Labs and click “Install”
- This extension pack installs a collection of essential tools for Salesforce development within VS Code, including:
> Salesforce DX: Provides functionality for working with Salesforce DX projects, a modern development framework for Salesforce development.
> Apex Editor: Offers syntax highlighting, code completion, and linting for Apex code,
> Visualforce Editor: Enhances development with syntax highlighting and code completion for Visualforce pages,
> SOQL Editor: Simplifies writing and editing SOQL queries with syntax highlighting and code completion.
3. Preparing Your Development Environment
Now that you’ve installed Visual Studio Code and activated the required extensions, it’s time to make sure everything is working smoothly:
- Open Visual Studio Code and access the Command Palette by pressing Ctrl+Shift+P (Windows) or Cmd+Shift+P (macOS).
- Type “sfdx” into the Command Palette to filter for Salesforce Extension commands.
- As you use more SFDX commands, they’ll start appearing in the recently used panel for quick access.

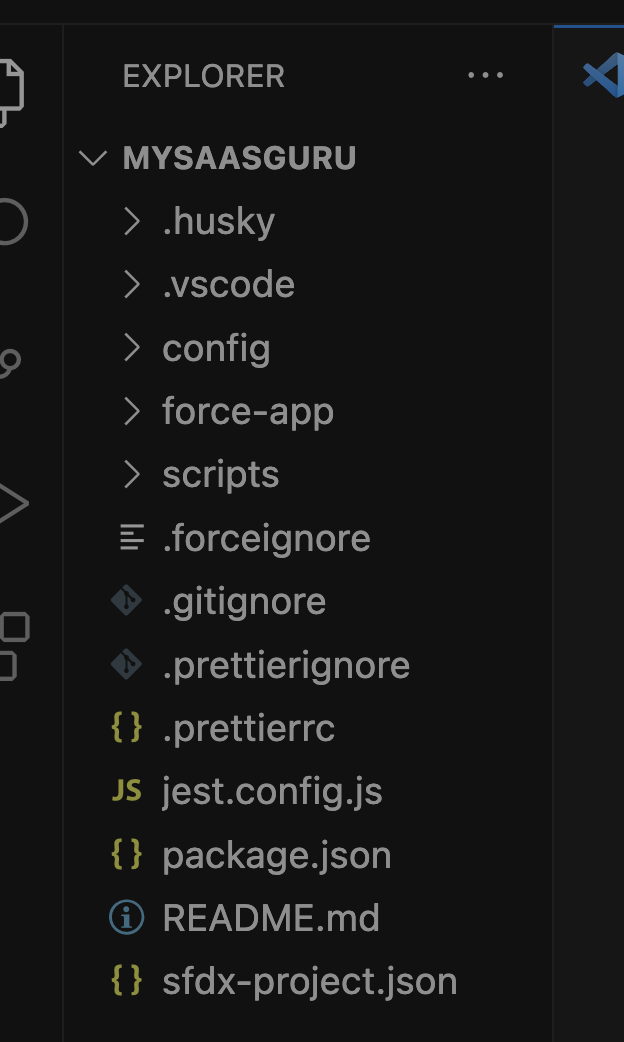
4. Starting Your Salesforce DX Project
With your development environment ready, it’s time to create a simple Lightning web component:
- Open Visual Studio Code and access the Command Palette using Ctrl+Shift+P (Windows) or Cmd+Shift+P (macOS).
- Enter “SFDX” in the Command Palette.
- Choose “SFDX: Create Project.”
- Accept the default option by pressing Enter.
- Name your project “Mysaasgur” or any desired name.
- Select a folder for your project.
- Click “Create Project.”
5. Authorizing Your Organization
To authorize your org, follow these steps:
- Open Visual Studio Code and access the Command Palette using Ctrl+Shift+P (Windows) or Cmd+Shift+P (macOS).
- Type “SFDX” in the Command Palette.
- Select “SFDX: Authorise an Org.”
- Press Enter to accept the Project Default login URL option.
- Press Enter to accept the default alias.
- This will open the Salesforce login page in a separate browser window.
- Log in using your org credentials.
- If prompted to allow access, click “Allow.”
Once you’ve authenticated in the browser, the CLI will remember your credentials for future use
Additional Tips and Resources
- VS Code Settings: Explore the VS Code settings (Code > Preferences > Settings on Windows/Linux, Code > Preferences > Settings on macOS) to customize various editor functionalities and keyboard shortcuts for a more personalized development experience.
- Salesforce DX Documentation: The official Salesforce DX documentation offers a comprehensive resource for developers, including detailed instructions, best practices, and troubleshooting guides.
- Trailhead Modules: Enhance your Salesforce development skills with free online learning modules on Trailhead, Salesforce’s official learning platform.

Conclusion
By following these steps and leveraging the available resources, you’ll have a fully functional VS Code environment set up for efficient and productive Salesforce development. Explore VS Code’s extensive extension marketplace to discover additional tools and functionalities that cater to your specific development needs.
Happy coding!
Frequently Asked Questions (FAQs)
1. How do I connect Visual Studio Code to Salesforce?
The connection happens through the Salesforce DX tools. Here’s a breakdown:
- Install the Salesforce Extension Pack in VS Code (refer to step 1 in the main guide).
- Install the Salesforce CLI following the instructions in step 2 of the main guide.
- Use the Salesforce CLI to authorize your Salesforce org with VS Code (step 3 in the main guide). This establishes the connection.
2. How do I set a path in VS Code for Salesforce?
VS Code typically detects the project structure automatically. However, if you encounter issues, you can manually configure paths within VS Code settings. Refer to the official VS Code documentation for detailed instructions on setting project paths: https://code.visualstudio.com/docs/getstarted/settings
3. How to setup git in VS Code for Salesforce?
- Install Git on your system from the official Git SCM website
- Within your Salesforce DX project directory (opened in VS Code), initialize a new Git repository using the terminal within VS Code (Terminal > New Terminal). In the terminal, type:
git init
- Follow best practices for using Git version control within your Salesforce development workflow. Numerous resources and tutorials are available online to guide you through Git functionalities.
4. How do I create a VS Code package in Salesforce?
VS Code itself doesn’t directly create packages for Salesforce. However, you can leverage Salesforce DX tools to create and deploy packages containing your Apex code, Visualforce pages, and other components. Refer to the Salesforce DX documentation for detailed instructions.
5. What is Visual Studio Code in Salesforce?
Visual Studio Code is a powerful and versatile code editor that serves as a development environment for various programming languages and frameworks. For Salesforce development, VS Code, equipped with the Salesforce Extension Pack and the Salesforce CLI, provides syntax highlighting, code completion, project management functionalities, and integration with Salesforce DX tools, streamlining your development workflow.
6. How do I open a Salesforce project in Visual Studio Code?
- Open VS Code
- Navigate to the directory containing your existing Salesforce DX project using the File Explorer within VS Code.
- VS Code automatically detects the project structure and activates the Salesforce extensions, making it ready for development work.
7. How do I know if SFDX is installed?
- Open a terminal window (Command Prompt, Powershell, or Terminal) and type:
sfdx –version
- If you see the SFDX version after running the command, it means it’s installed correctly.
8. How to install Visual Studio Code in Windows 10 for Salesforce?
The installation procedure remains consistent across all supported operating systems. Download the appropriate VS Code installer for Windows 10 from the official VS Code download page and follow the on-screen installation instructions.